Painting Inspiration

National Paint Week: Tutorial Painting British Flag on Fence Boards

I made this British Flag inspired art for my nephew, Kirby. He is 18 and collects flags from around the world, so I thought this would go...

Showing posts with label Repurpose. Show all posts

Friday, September 20, 2013

My Dream Kitchen

Welcome to my dream kitchen.

This is the kitchen in the main house at Emerson Courtyard. I am the property manager there and spend most of my time (by choice) here in the kitchen.  From the black and white checked floor to the beadboard cabinets. I dream of transforming my kitchen into this. This is the entrance from the courtyard.


When you walk through this half door (which I love). You are greeted by a cheerful checkered floor. Behind the door sits a subzero fridge for extra storage and a large pantry cabinet.


In the peninsula with all of it's storage drawers, there is an ice maker and a mini fridge for beverages. 


Here is another view of the door and fridge and a second large pantry cabinet.


This peninsula has the most adorable vintage almost nautical pendant light.


I love the brass and chrome combination on this light.


At the end of the peninsula there is a hand painted table that folds down and tucks away as needed.The bar stools in the background pull up to it nicely. It's a great place for coffee.


When you enter the heart of the kitchen you find a granite topped island with custom bar sink. For the sake of conversation, I took the pots down from the rack. {We were having a wedding here and I needed it to be clear for all of the people wandering through.}


Isn't it cute? I love the details in this room.


Above the main sink there is a wall of windows that keep this room so bright, I rarely turn a light on. 


On the wall opposite the windows is the Viking gas range. We use the heat lights and shelf below the exhaust hood during parties. Notice the pot filling faucet on the left? I want this at home.


To the left of the range is one of only 2 banks of upper cabinets. These provide the only touch of permanent color in the room. Their light green frames with chicken wire between the glass panels are probably my favorite feature. They are just cute, practical and fun.


The bank of cabinets to the right of the range hold glasses, coffee cups and stem ware.


If you keep moving to the right, you will come across a hidden gem. The Sub-Zero refrigerator has beadboard panels to help in blend in with the rest of the room.


To the right of the refrigerator there is a bank of open shelving and space for a microwave. I am considering turning this into a coffee station. It's a little bare right now. If I had this space at home, I am sure these shelves would be dressed in my favorite blue and white china.


If you move a little more to the right, on the wall with the bank of windows, there is this sweet reminder of a vacation at the beach attached to the wall. {You can catch a glimpse of it in the photo above.} It is one of those little loving touches that I think makes this kitchen so dreamy.


Saturday, August 17, 2013

Super Easy Custom Shower Curtain Trick


Isn't this shower curtain cute? The entire bathroom is decorated around it. It's little blue and yellow flowers inspired the yellow walls and hand painted blue mirror.


The shower curtain however has a secret. It's really not a shower curtain. It started out as a set of window draperies. These simple cotton tab top curtains hung on a second shower curtain rod make all the difference in this little space.


The shower curtain is a sturdy vinyl white curtain. The tab topped curtains are just there to add color and softness. (Cuteness, too.)


The tab tops are not necessary. You could use just about any curtain to achieve this look. For example...


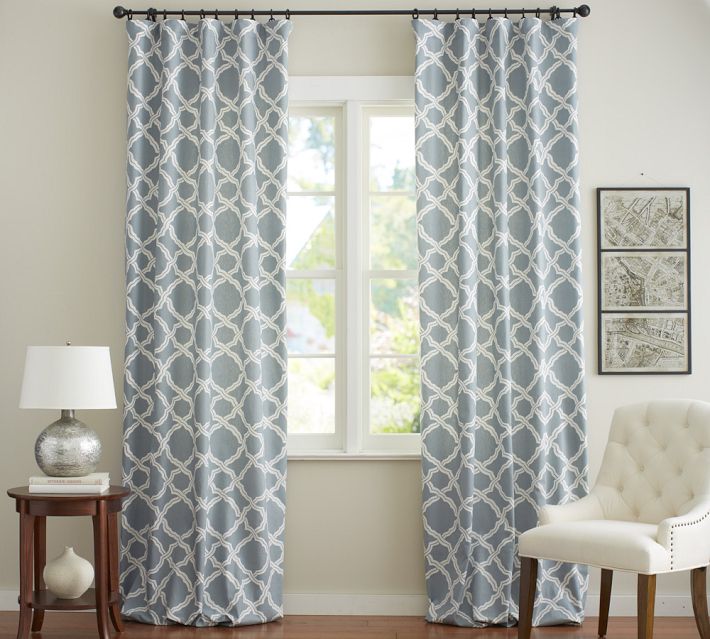
I think these Pottery Barn drapes would make quite an impression as a shower curtain.


I am partial to stripes and have a thing for black and white at the moment. I would love to use these Pottery Barn Teen curtains in my main floor bathroom.

I also like this black and white pair. These babies are only $14.99 for the pair at Ikea. That's a pretty good price for a shower curtain, I think.

Custom does not have to be expensive, just creative.


Saturday, August 10, 2013

Peace Sign on Reclaimed Wood Painting Tutorial


Peace Sign Painted on Reclaimed Wood


I started with a canvas of reclaimed wood. It was actually fence boards that I had Joe cut down to 24 inches. I used the same technique as we did for the British Flag to attach the 4 boards to each other. These boards did not require stain, they were all ready this weathered gray. I love painting on old cedar boards because they are really light weight and easy to hang.


I started by drawing a circle on the boards in pencil. I traced around a large bowl to achieve this. Then traced around a smaller bowl to create the inner circle. This gave me a rough idea of the lines, I don't really stay in the lines though, just come close.


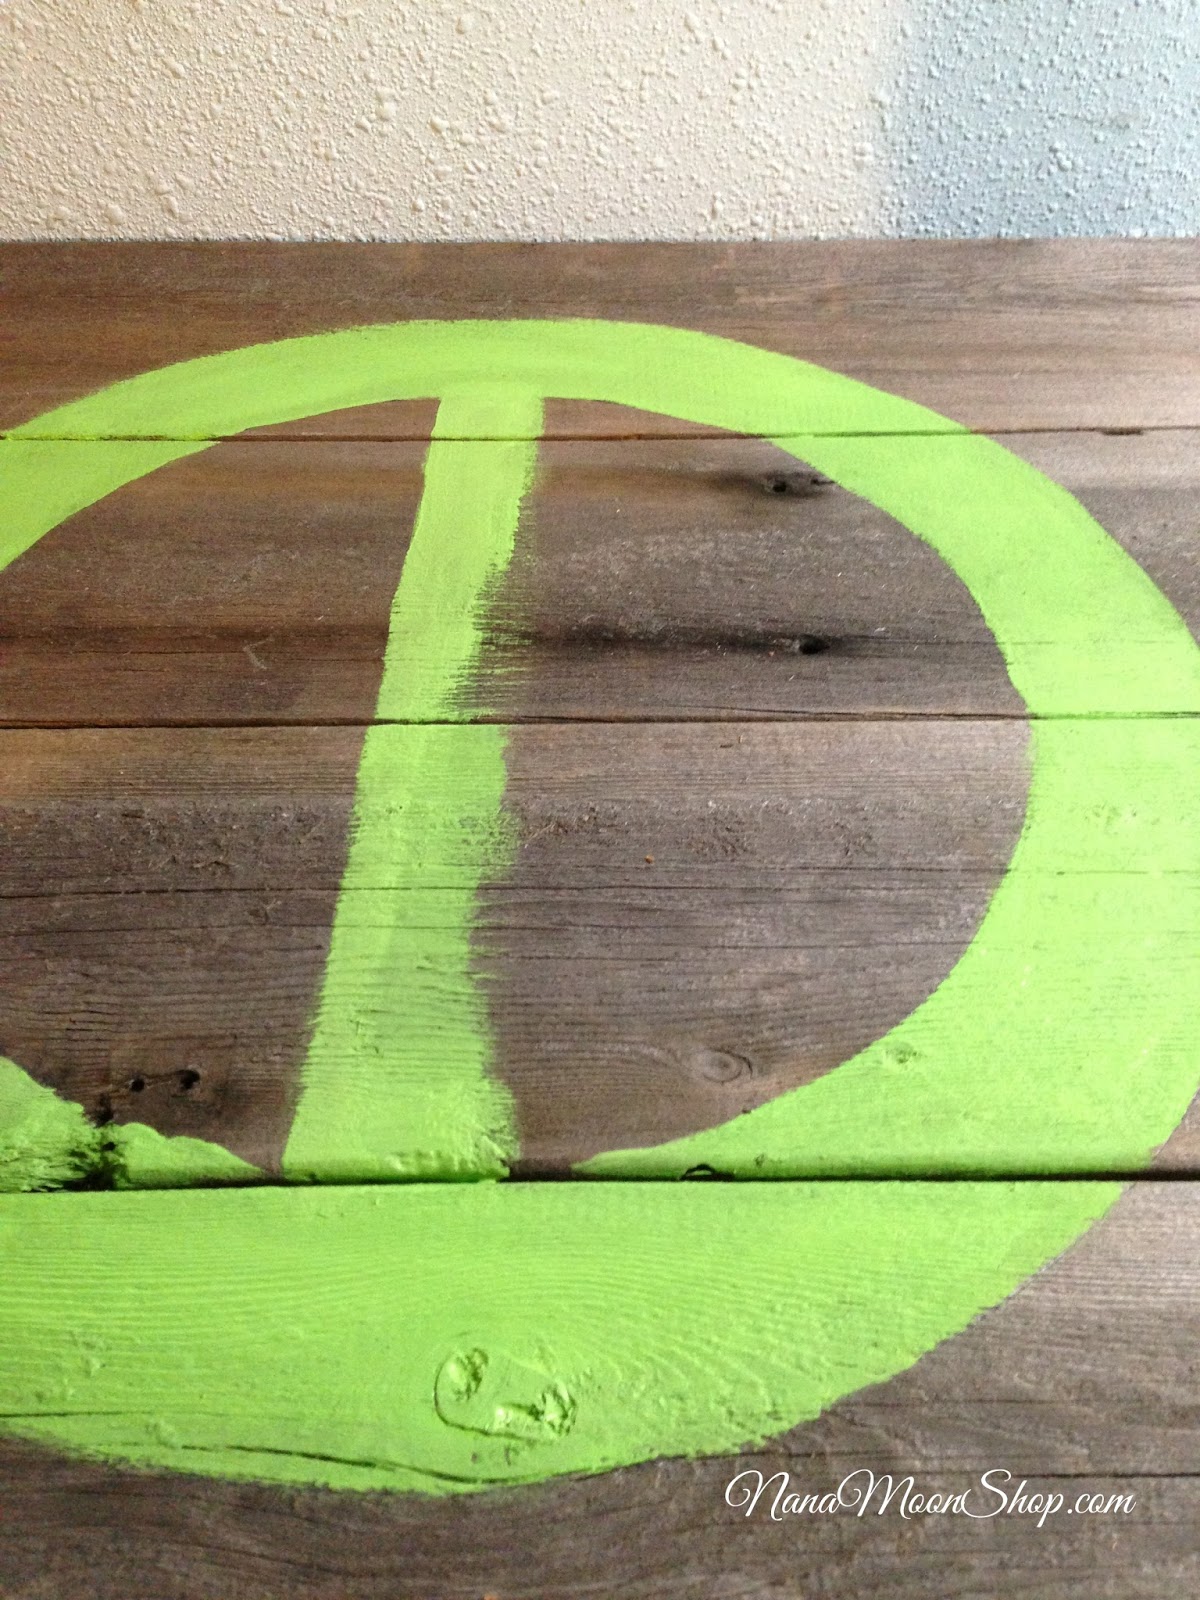
I picked the brightest green acrylic craft paint I had for this painting because it is for my neon & peace sign loving daughter, Samantha. I used a large M. Grumbacher 10 bristle brush to paint most of it. It is one of my favorite brushes.  With the rough wood grain, it took some water and brushing in every direction to get full paint coverage.


Using an angle brush, I painted a kind of straight line down the center of the circle and filled it in with paint using the bristle brush to do the filling and the angle brush to make the lines straight. (Not perfectly straight by any means. It's art after all.)


I used my bristle brush for a guide as to where to put the remaining lines of the peace sign and painted the line using my angle brush. If you want to use tape here, that would be a good way to go about it. I just like to freehand things.


This is the finished painting. But it was way too fresh to go with the wood, so I decided it needed a little roughing up.


 So I took it outside and hit it lightly with my palm sander. I used a fine sand paper 100 grit. I didn't want to remove the patina of the wood or too much paint.


 Here is the final project. I will take one of it on her wall and update this post. This angle shows my sanding and some of the imperfections that make it personal. I think she will love it. What do you think?


Just a little note on my grandson Cylas. His eye surgery last month went really well and we are hoping that his glasses will be a thing of the past. We will find out in September. The surgery was to correct some muscle weakness behind his eye that let his eyes go crossed. It has made a huge difference so far. If he still needs glasses for his vision, that's OK too, cause they really are cute on him. Thank you for all the well wishes for his recovery!


Happy Painting!


Linking Up With:

Friday, June 21, 2013

Inspiring Media Center Projects


You know how I love repurposed furniture? My vintage buffet turned Media Center is one of the most functional pieces I have repurposed so far.  I just put together a Inspiring Media Center Projects Clip Board featuring 26 Unique DIY Media Centers on HomeTalk.

Have you been to HomeTalk.com?  It’s kind of like Pinterest but even better because it focuses on all things home and garden.  You can also share your own projects as well as ask questions to the HomeTalk community. It is my go-to website for inspiration. 


I love the fact that you can ask questions on Hometalk and get advice on your home and garden. This winter, when our pipes froze, I asked for suggestions on how to fix them and got very helpful advise. I hope you will follow me on HomeTalk.com/nanamoon and leave a link to your Hometalk profile in the comments so that I may follow you!


Thursday, April 18, 2013

National Paint Week: Tutorial Painting British Flag on Fence Boards


I made this British Flag inspired art for my nephew, Kirby. He is 18 and collects flags from around the world, so I thought this would go with his theme.


I started with 1 x6 Cedar fence board. I had Joe cut them down to 4 24 inch pieces and then we strapped them together using scrap trim molding we had left over from our bathroom remodel. I stained them with a solution of white vinegar and steel wool. I got all of these ideas from Girl In Air's blog for exact instructions on how to make it the vinegar stain see her website HERE.


We printed out a sample flag and Joe set to figuring out how exactly to draw it. Mr. Measuring Tape had all of these lines drawn all over the boards and I came in with my white acrylic craft paint and just followed them.


For the red lines, I used tape to make first the cross then the X. Have you ever really examined the British flag? The X is odd. The lines from left to right jump from bottom to top and the lines from right to left jump from top to bottom. I have never really noticed that before. I always thought it was just an X.


To make these lines, I didn't measure, I just created the shape with painters tape and filled it in with my red acrylic craft paint.


After it dried over night, I took my palm sander and 80 grit sand paper to it to rough up the paint and smooth out the fence boards.


This was a lot of fun to make, I have orders for a huge peace sign and a musical note from my daughters now, so I guess it's a hit.

If you are interested in purchasing one of these British Flag inspired paintings, just email me and I will share the details with you.


You might also like my Peace Sign Painted on Reclaimed Wood:


Happy Painting!


Shared At:

Weekend Bloggy Reading