Painting Inspiration

National Paint Week: Tutorial Painting British Flag on Fence Boards

I made this British Flag inspired art for my nephew, Kirby. He is 18 and collects flags from around the world, so I thought this would go...

Showing posts with label Sign Making. Show all posts

Saturday, August 10, 2013

Peace Sign on Reclaimed Wood Painting Tutorial


Peace Sign Painted on Reclaimed Wood


I started with a canvas of reclaimed wood. It was actually fence boards that I had Joe cut down to 24 inches. I used the same technique as we did for the British Flag to attach the 4 boards to each other. These boards did not require stain, they were all ready this weathered gray. I love painting on old cedar boards because they are really light weight and easy to hang.


I started by drawing a circle on the boards in pencil. I traced around a large bowl to achieve this. Then traced around a smaller bowl to create the inner circle. This gave me a rough idea of the lines, I don't really stay in the lines though, just come close.

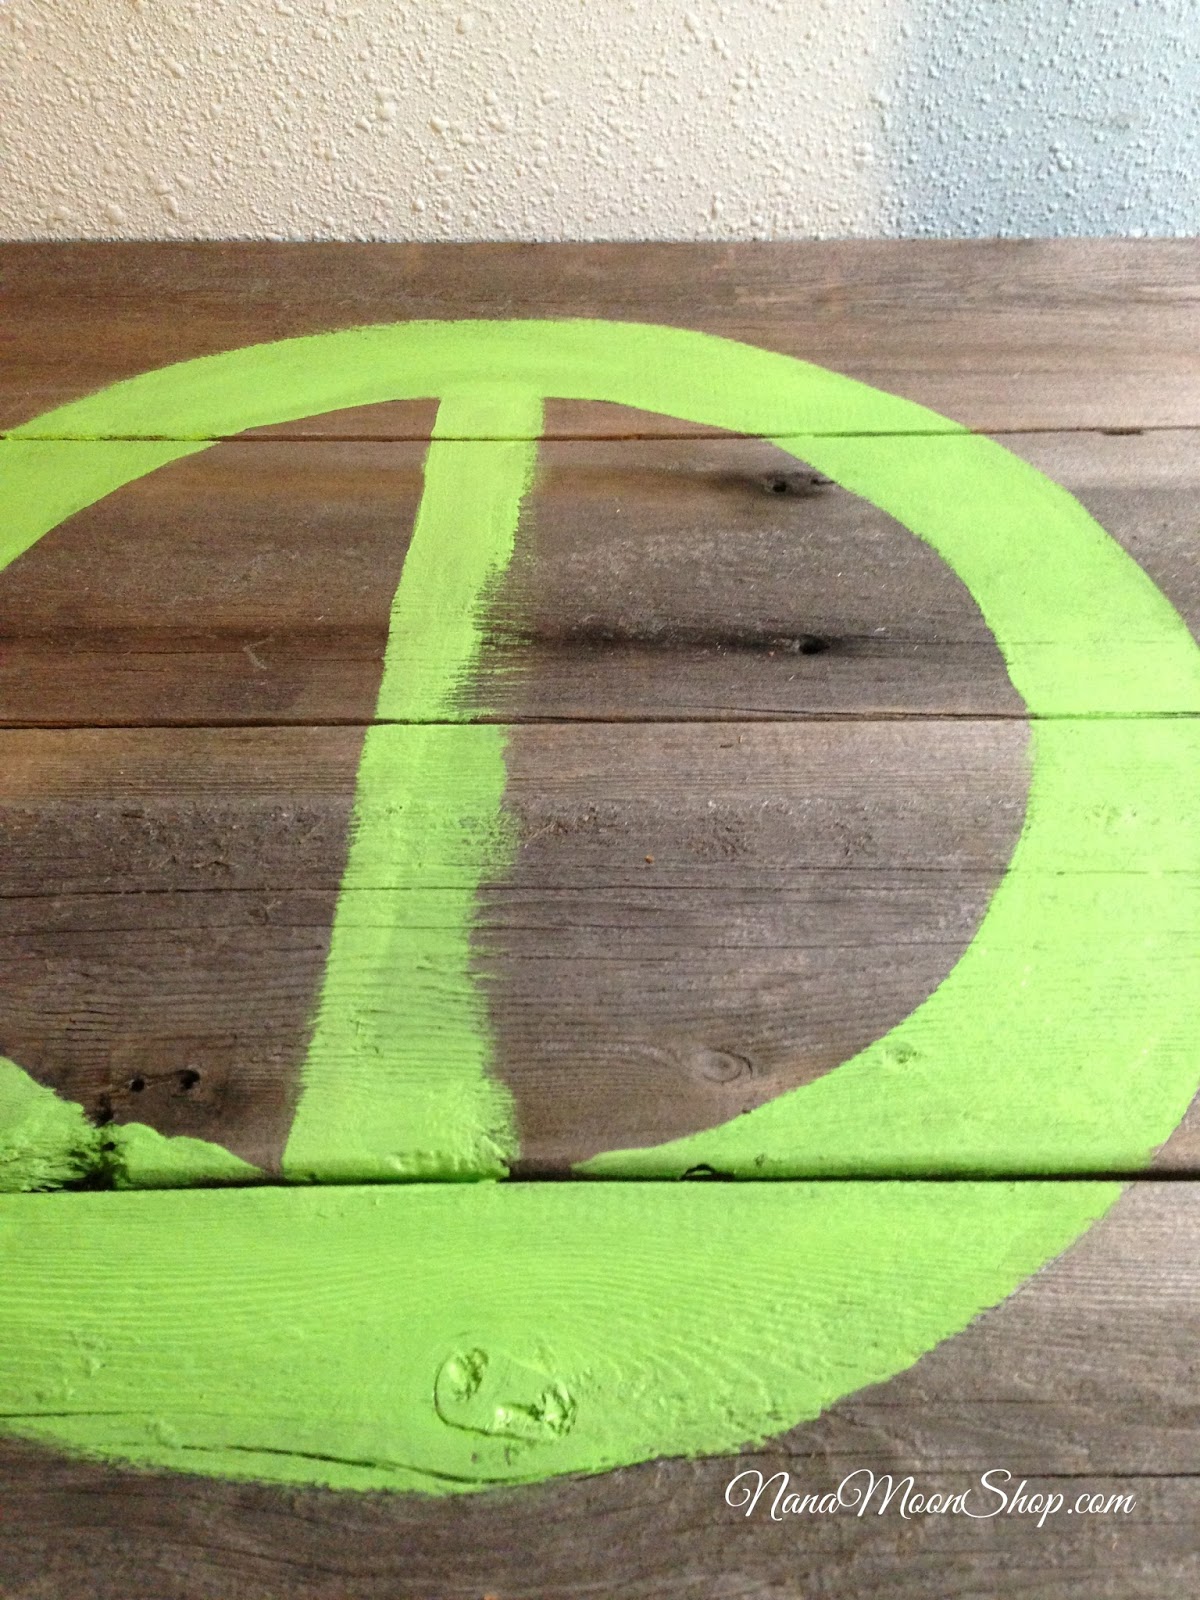

I picked the brightest green acrylic craft paint I had for this painting because it is for my neon & peace sign loving daughter, Samantha. I used a large M. Grumbacher 10 bristle brush to paint most of it. It is one of my favorite brushes.  With the rough wood grain, it took some water and brushing in every direction to get full paint coverage.


Using an angle brush, I painted a kind of straight line down the center of the circle and filled it in with paint using the bristle brush to do the filling and the angle brush to make the lines straight. (Not perfectly straight by any means. It's art after all.)


I used my bristle brush for a guide as to where to put the remaining lines of the peace sign and painted the line using my angle brush. If you want to use tape here, that would be a good way to go about it. I just like to freehand things.


This is the finished painting. But it was way too fresh to go with the wood, so I decided it needed a little roughing up.


 So I took it outside and hit it lightly with my palm sander. I used a fine sand paper 100 grit. I didn't want to remove the patina of the wood or too much paint.


 Here is the final project. I will take one of it on her wall and update this post. This angle shows my sanding and some of the imperfections that make it personal. I think she will love it. What do you think?


Just a little note on my grandson Cylas. His eye surgery last month went really well and we are hoping that his glasses will be a thing of the past. We will find out in September. The surgery was to correct some muscle weakness behind his eye that let his eyes go crossed. It has made a huge difference so far. If he still needs glasses for his vision, that's OK too, cause they really are cute on him. Thank you for all the well wishes for his recovery!


Happy Painting!


Linking Up With:

Monday, January 28, 2013

New Sign Tutorial: "LOVE" in gold letters on beadboard


 I am not really traditional when it comes to Valentine's Day, I thought my theme this year would be aqua and gold. Inspired by Make It And Love It's LOVE sign on beadboard HERE, I decided to do a variation of it.


I painted the beadboard with acrylic craft paint using a dry foam brush. I didn't coat it evenly because I wanted it to appear weathered. I only applied 1 quick coat.


When the paint dried, I used a clean cloth to rub glaze into the cracks of the beadboard and then lightly over the entire piece, again not evenly because I wanted variation in the colors. 


I rubbed some of the glaze off and left it a little heavy in the groves. While that dried, I went to work on my letters. I purchased them at Michael's Craft Store they are 5 inch letters.


I used Rub 'n Buff in gold on them. Just squeezed a bit out onto my craft paper and used a gloved finger to rub the letters down until they were all this lovely shade of gold. It took some time to get into all the tight areas and I had to use a cotton swab in some spots, but it is so well worth it. The more you add and buff the better it looks.


Once all of my letters were rubbed gold, I lined them up on my beadboard then hot glued them into place.


This was a quick and inexpensive sign to make and I LOVE the way it turned out. 


What have you been painting lately?


Sharing over at:


Friday, January 18, 2013

Wedding Signage & A New Job


I'm sorry that I have not been very good at posting this month. I have been a little distracted. I started working a new job. {I have 4 part-time jobs at this point. Not including wife and mother.} A while back, I created a website for Emerson Courtyard, a beautiful bed and breakfast that also serves as an events center. I have been asked to do all of the social media and marketing for it. I am very excited and have been spending a lot of time setting up Twitter, Facebook and Pinterest accounts for it, creating branding material such as business cards, brochures and pricing sheets.


We held my daughter's sweet 16 party there. It is just a beautiful property. I have been working on creating wedding brochures and we are staging a wedding for a photo shoot this spring. Which has me thinking about wedding signage. I love making signs. I think they are quick and easy paint project that anyone with a few stencils and piece of wood can make. Here are a few samples that I found on Pinterest.


The Emerson Courtyard estate consists of 3 cottages, a huge main house and 2 acres of gardens, this would be helpful to party guests.


I really like this one but it is a bit too personalized.


I think if I made this one for Emerson Courtyard, several brides would opt to use it, don't you?


These signs could all be made using the technique I used to make my Christmas sign HERE.


I prefer these white signs with pretty fonts. You can buy these wooden arrow sign blanks at Michael's.


I like the rustic crackled paint on these and the font. Crackle medium is so fun to work with. See how to make your own using Elmer's Glue on this post HERE.


Both of these signs could easily be painted by using vinyl lettering and paint like I did on my Be Sweet sign HERE.


Hope you are having a fabulous start to the New Year! 


Monday, December 3, 2012

Stenciled Christmas Sign Tutorial


I made this little, rustic Christmas sign for my mantel and thought I would do a tutorial for you.
 
 
For this project you need:

1 x 6 pine board 32 inches long (Mine was old and dirty and found in Joe's wood shop.)
Painters Tape
Martha Stewart's Pearl Craft Paint in Aqua
Minwax English Chestnut wood stain
4 inch Nueva Stencils
Stencil Brush
Staining Brush
Rag for staining
 
I wanted to keep it simple by just stenciling the word Christmas. I sanded the board and rounded the edges a bit with the palm sander.  I laid out my stencils to make sure I had enough room for the entire word. I used 4 inch stencils in Nueva font that I found in the drawing section at Michael's. I taped them in place. I used a stencil brush and Martha Stewart's Pearl Finish paint in Aqua. It took 2 coats for each letter.


I started a few inches from the left side of the sign and stenciled each letter; allowing a little drying time in between stenciling.


I really liked this glossy pearl finish.


Once I got all of my letters stenciled on, I let it dry for a few hours then brushed on Minwax English Chestnut stain (we used this on our stair refinishing project HERE.) I brushed the stain on the entire front side of the sign, right over the stencils, then wiped it off with a clean, lint free rag.


I stained all sides of the board in thin even coats and wiped the excess stain off.


Let each side dry before moving on to the next. Make sure you lay out a drop cloth and wear gloves because stain is well... it stains, everything. :)


The pearl paint is still glossy and bright but the stain gives it an aged quality. This is part of my Christmas mantel decor. I am still working out rest. This technique could easily be used for any sign.


Happy Painting!


Friday, August 31, 2012

Gearing Up For Fall Crafts

There is a chill in the air this morning. School is starting on Tuesday and with that comes a change in the weather. I always get an itch for crafting in the fall. I have been taking a look back at some of the fall projects I've made over the years.  So I can come up with something new. I thought I would share them with you. 


Repurposed sweater pumpkins.


Boo Banner and kid craft: paper mache cones painted by Sophie to resemble candy corns.


Candy corn painted scrap wood. Our baby pumpkins from the pumpkin patch field trip.

 
Sophie's owl costume made from old flannel shirts. I made this last year and she loved it!
I have to come up with something for this year. Any suggestions?


Fall Welcome Sign. {I must confess this sign has been hanging here all summer, too.}


Spooky Prints from Graphics Fairy images printed in black and white and colored with orange colored pencil then framed. Easiest fall craft with huge impact.
 
 
Soon I will be pulling our scarecrow out of storage and propping him up here on the porch.
 
I've all ready got Sophie painting a paper mache witch hat from Michael's. We are both doing one for a table top display, for her birthday which happens to be on Halloween.  Here are a few of the things I did for her party too...


Center piece for Sophie's birthday party, salt water taffies on skewers. They were a huge hit.

 
The owl cupcakes I made for Sophie's class room birthday party last Halloween. Just Oreo cookies and Reese's pieces. Simple and fun!
 
October is shaping up to be a busy month, especially since I plan to do the 31 day challenge again. Not sure the topic, but will probably focus on the 2 things I love to do the most, painting and blogging.
 
Are you ready to get crafty for fall? What craft projects are you working on?


Friday, October 28, 2011

Scrap Wood Becomes Chalk Board

If you are new to the paint series this is day 28 of 31 days of the Power of Paint. If you'd like to see the entire series click  HERE.


Scrap Wood Becomes Chalk Board


This summer I spray painted several scrap boards to use in various projects like my Fall WELCOME Sign.

 
After the blue paint dried completely, I spray painted it again this time with Rustoleum's Apple Green. I let it dry over night then I took my palm sander and sanded it to reveal the blue paint below.

 
I love how the wood grain and knots show up after sanding this.

 
To make the chalk board, I taped off a section of the board and painted with Chalk Board Paint.

 
This is one coat of paint. It took 2 coats to cover that bright green.

 
I found some green ribbon that coordinated with the paint, drilled holes and fed the ribbon through for a hanger. Pretty simple stuff but I love the outcome.