Painting Inspiration

National Paint Week: Tutorial Painting British Flag on Fence Boards

I made this British Flag inspired art for my nephew, Kirby. He is 18 and collects flags from around the world, so I thought this would go...

Showing posts with label Small Space Decor. Show all posts

Tuesday, October 13, 2015

Mix and Chic New Dining Room Inspiration via Chairish

Since we have made the decision to downsize to a smaller home, I have realized that I am going to have to let go of my large dining room furnishings. I have a huge china hutch that is over 10 feet long and a dining table that seats up to 12. This is not going to work in the new house, so I've been window shopping over at Chairish.com. Have you discovered this little gem, yet?

Chairish is online shopping heaven, in my opinion. Their tagline is "Where Design Lovers Buy and Sell" if you are downsizing, like me or love design, this is the place to shop and sell. I love this page on Shabby Chic Style.

I will be going with my same mix of modern and Shabby Chic furnishings for our new home. I will need a much smaller dining room table. I have these 3 in mind:

The color and scale of this Lilly Pulitzer dining set makes my heart happy.


I like the idea of this simple farm table with bench seating. I could squeeze more people around this table and the bench wouldn't take up as much space visually. I'd probably paint the legs white.


This classic design with neutral colors is probably more like what we will go with. If the table had a leaf that extended it, this would be the one.


I will also need a replacement hutch. I found this lovely Vintage Ming Style Lacquered Buffet for only $1450. The scale is much better.

But I really am a Shabby Chic, Vintage loving girl at heart, so I think I will go with something more like this rustic gray piece.


Isn't it dreamy? Oh, and you must check out the accessories, the lighting and the rugs! I want these:


Is my design style "all over the place"? Probably. But I love mixing and matching Shabby Chic, rustic, new and modern pieces to create my own unique "Mix and Chic" style.

Downsizing has been a hard decision, but with most of our children grown, it is time to spend less time on our house and more time on vacation, don't you think? I will be excited to fill the new smaller home with lovely smaller furnishings and will be probably be listing my larger furniture pieces to sell on Chairish.com.

Now on to house hunting! Wish me luck. I'll be blogging our journey.


Saturday, August 17, 2013

Super Easy Custom Shower Curtain Trick


Isn't this shower curtain cute? The entire bathroom is decorated around it. It's little blue and yellow flowers inspired the yellow walls and hand painted blue mirror.


The shower curtain however has a secret. It's really not a shower curtain. It started out as a set of window draperies. These simple cotton tab top curtains hung on a second shower curtain rod make all the difference in this little space.


The shower curtain is a sturdy vinyl white curtain. The tab topped curtains are just there to add color and softness. (Cuteness, too.)


The tab tops are not necessary. You could use just about any curtain to achieve this look. For example...


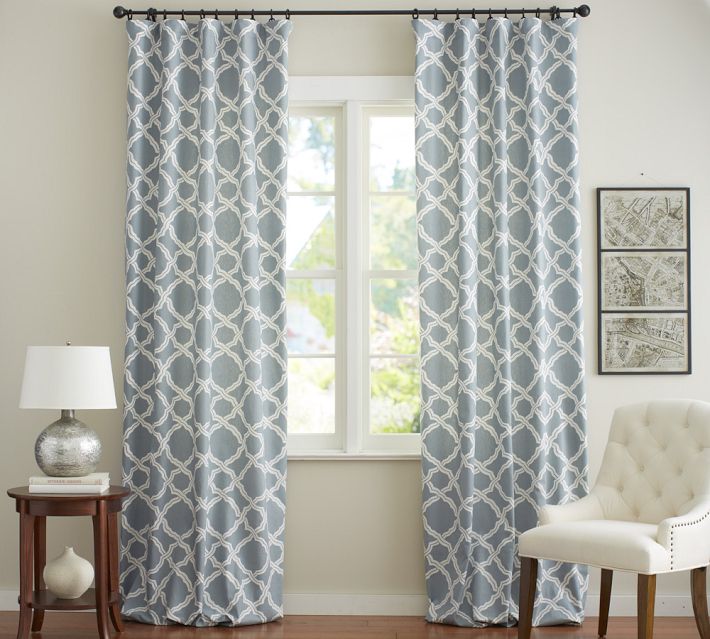
I think these Pottery Barn drapes would make quite an impression as a shower curtain.


I am partial to stripes and have a thing for black and white at the moment. I would love to use these Pottery Barn Teen curtains in my main floor bathroom.

I also like this black and white pair. These babies are only $14.99 for the pair at Ikea. That's a pretty good price for a shower curtain, I think.

Custom does not have to be expensive, just creative.


Saturday, August 10, 2013

Peace Sign on Reclaimed Wood Painting Tutorial


Peace Sign Painted on Reclaimed Wood


I started with a canvas of reclaimed wood. It was actually fence boards that I had Joe cut down to 24 inches. I used the same technique as we did for the British Flag to attach the 4 boards to each other. These boards did not require stain, they were all ready this weathered gray. I love painting on old cedar boards because they are really light weight and easy to hang.


I started by drawing a circle on the boards in pencil. I traced around a large bowl to achieve this. Then traced around a smaller bowl to create the inner circle. This gave me a rough idea of the lines, I don't really stay in the lines though, just come close.


I picked the brightest green acrylic craft paint I had for this painting because it is for my neon & peace sign loving daughter, Samantha. I used a large M. Grumbacher 10 bristle brush to paint most of it. It is one of my favorite brushes.  With the rough wood grain, it took some water and brushing in every direction to get full paint coverage.


Using an angle brush, I painted a kind of straight line down the center of the circle and filled it in with paint using the bristle brush to do the filling and the angle brush to make the lines straight. (Not perfectly straight by any means. It's art after all.)


I used my bristle brush for a guide as to where to put the remaining lines of the peace sign and painted the line using my angle brush. If you want to use tape here, that would be a good way to go about it. I just like to freehand things.


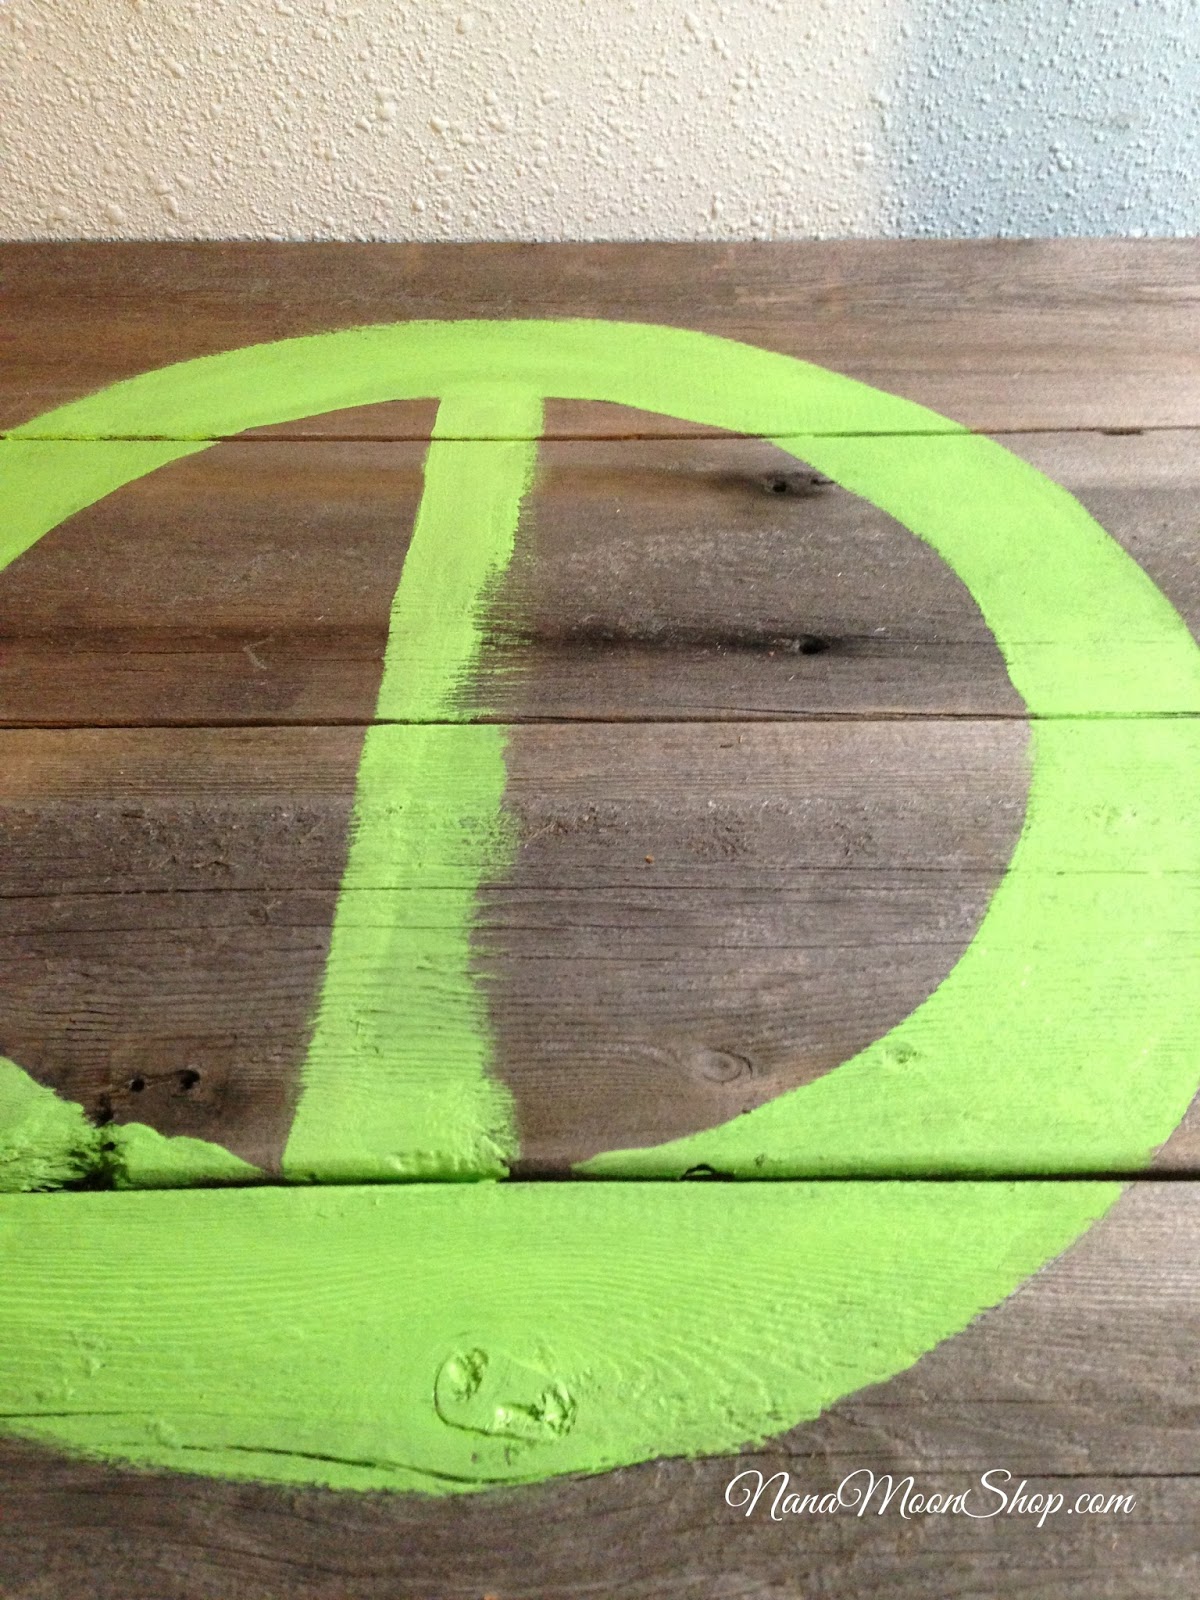
This is the finished painting. But it was way too fresh to go with the wood, so I decided it needed a little roughing up.


 So I took it outside and hit it lightly with my palm sander. I used a fine sand paper 100 grit. I didn't want to remove the patina of the wood or too much paint.


 Here is the final project. I will take one of it on her wall and update this post. This angle shows my sanding and some of the imperfections that make it personal. I think she will love it. What do you think?


Just a little note on my grandson Cylas. His eye surgery last month went really well and we are hoping that his glasses will be a thing of the past. We will find out in September. The surgery was to correct some muscle weakness behind his eye that let his eyes go crossed. It has made a huge difference so far. If he still needs glasses for his vision, that's OK too, cause they really are cute on him. Thank you for all the well wishes for his recovery!


Happy Painting!


Linking Up With:

Wednesday, August 1, 2012

One Room Challenge Finale! Week 6


Master Bath Retreat Big Reveal!


Welcome to my One Room Challenge Reveal!


I used a coat rack for the towel rack because it's so much sturdier than the traditional towel bar. I painted this vintage inspired arrow with some chalk board paint.


This sea shell dish is the perfect place to put our rings.


I used vintage jars as storage and fashioned a soap dispenser out of one. I found this vintage silver soap dish at an estate sale. I could polish it up but I love the patina it currently has.


You can't have enough storage. Why not display necessities?


This little ship reminds me of my honeymoon spent in Newport, OR. That tiny piece of drift wood underneath? I brought it home from the beach there.


A little bamboo plant in my favorite flower pot seems at home here on my new window sill.


All the essentials for a long hot bath, candles, loofah... seahorse. :)


Beach inspired accessories all purchased on the Oregon coast over the last several years are displayed on top of my medicine cabinet.


My newly painted vanity cabinet finally has drawer pulls and new tile around it's edge. I am so pleased with how it all turned out.

You really should check out my One Room Challenge Sisters listed below.


One Room Challenge Participants:

Lauren - The Cottage Mix
Lindsay - Everything LEB
Barbara - Hodge:Podge
Kim - Kim Macumber Interiors
Lisa - Lisa Mende Design
Tiffany - Living Savvy
Jessie - Mix & Chic
Linda - My Crafty Home Life
Alison - My Little Happy Place
{Me - Nana Moon}
Nicole - Nicole Scott Designs
Julia - Pawleys Island Posh
Jennifer - The Pink Pagoda
Bethany - Powell Brower Home
Lindsay - The Pursuit of Style
Emily - Rue de Emily
Lindsay - Sadie + Stella
Lisa - Trapped in North Jersey

Wednesday, July 25, 2012

One Room Challenge Week 5


Welcome to week 5 of the One Room Challenge! 20 Design-Oriented Bloggers, 20 Room Makeovers Finished in 6 weeks.
To see the first few weeks of this challenge:

Master Bath Retreat

This week there has been a lot of progress made on my ORC room.


This old Atlas jar became a soap dispenser.


This vintage style arrow sign became a chalkboard.


My ugly 60s vanity with fake plastic veneer became a thing of beauty, after hours spent preparing, priming and painting. Tutorial coming soon.


I added some beachy accessories.


Our window finally got a proper window sill and trim molding.


And I got to use power tools. All in all it was a fabulously productive week. I cannot wait til next week to show you my big reveal!


Don't forget about the other crazy brilliant, brave ladies taking this challenge!
Stop by and see their progress.


One Room Challenge Participants:

Lauren - The Cottage Mix
Sherry - Design Indulgence
Lindsay - Everything LEB
Barbara - Hodge:Podge
Kim - Kim Macumber Interiors
Lisa - Lisa Mende Design
Tiffany - Living Savvy
Jessie - Mix & Chic
Linda - My Crafty Home Life
Alison - My Little Happy Place
{Me - Nana Moon}
Nicole - Nicole Scott Designs
Julia - Pawleys Island Posh
Jennifer - The Pink Pagoda
Bethany - Powell Brower Home
Lindsay - The Pursuit of Style
Emily - Rue de Emily
Lindsay - Sadie + Stella
Lisa - Trapped in North Jersey