Painting Inspiration

National Paint Week: Tutorial Painting British Flag on Fence Boards

I made this British Flag inspired art for my nephew, Kirby. He is 18 and collects flags from around the world, so I thought this would go...

Showing posts with label Rearrange. Show all posts

Tuesday, November 15, 2011

Thankful Banner & Nature Inspired Decor

{This is my fall mantel. I am showing this post at SNS today, to show my pinecone, Christmas light bucket that I used then and am using as part of my Christmas decor.}

My mantel for Thanksgiving is pretty simple. I kept a few of my Sweater Pumpkins from Halloween, my blue mason jars with sunflowers, picnic basket and wreath from my Fall Mantel and added a few things.
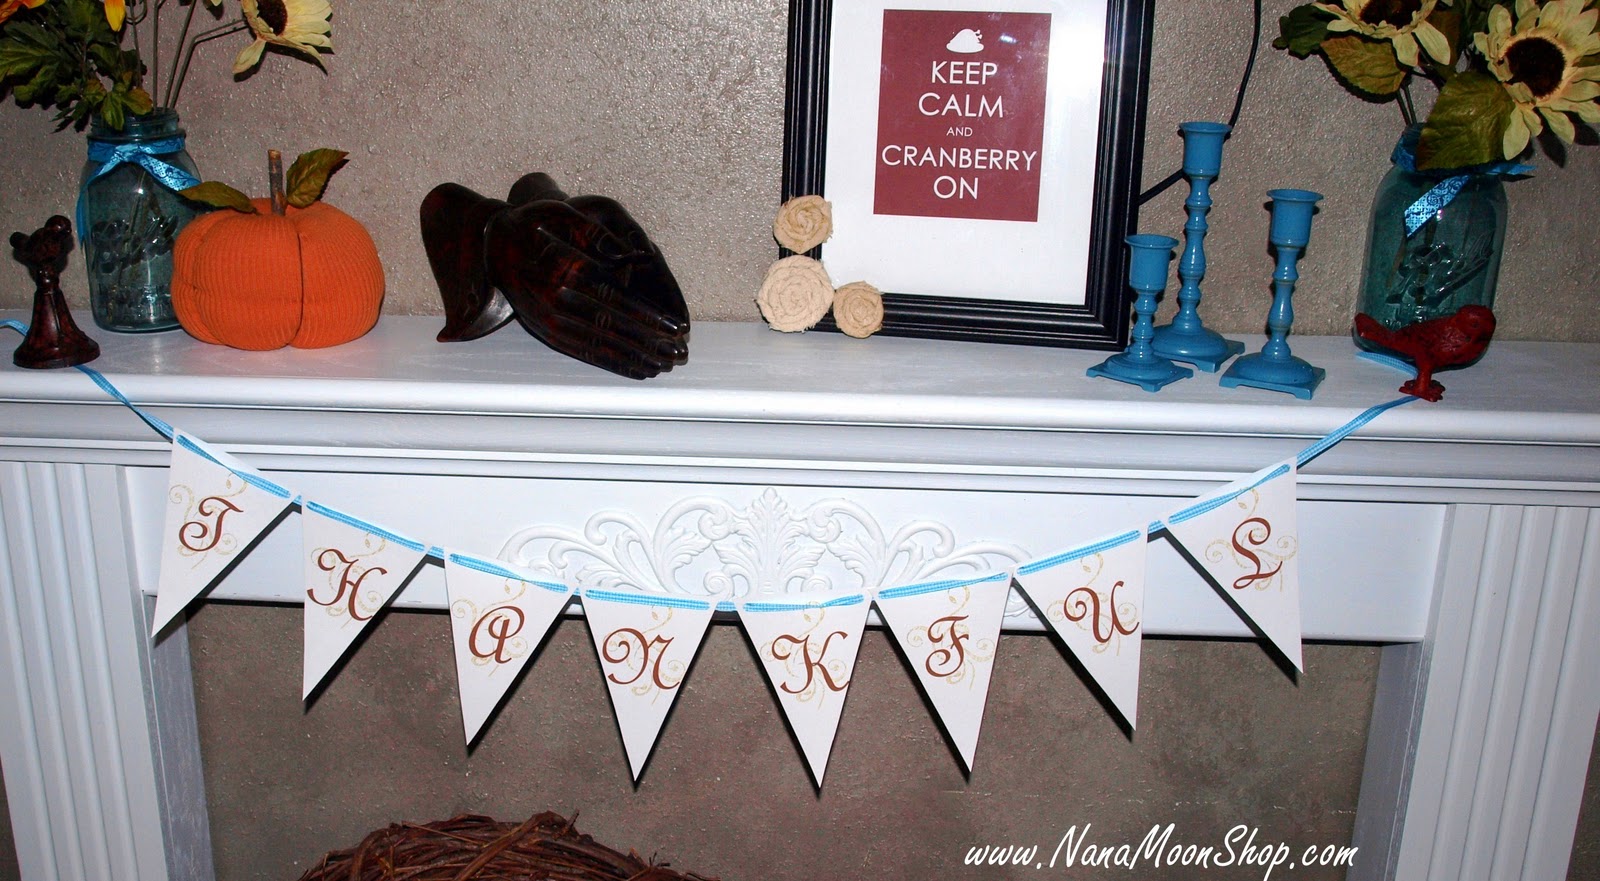
I made the "Thankful" banner in MS Word and printed it on card stock. I printed the Keep Calm and Cranberry On artwork that I found at Tip Junkie's Thanksgiving website. HERE. I printed it 5x7 centered on white card stock to give the illusion that it is matted.

In what is suppose to be the fireplace, I added this old rusty bucket that I found while thrifting for $2. I added some Cinnamon scented pine cones that I purchased at Michael's and a strand of white Christmas lights.  It creates a lovely glow and when the lights warm up the Cinnamon smells even stronger. These scented cones have my entire house smelling festive. They are so strong in fact that for the first week I had this little arrangement on my porch. It looked lovely and was a great welcoming scent.

A word of caution, this may well be a fire hazard. Do not leave the lights on unattended or for long periods of time. I suggest only a few hours at a time.

In my Holiday Corner, I added 2 more framed Thanksgiving prints that I found on blogs. Last year, I had printed these full size but I really like printing them 5 x7 and centering them on the card stock to make them appear to be matted. One of my chalkboard signs hangs above them and reminds my children and myself to "Be Grateful".

I am grateful for you, my readers. Thank you for taking the time to stop by. I hope you have a safe and happy holdiay season!


Thursday, October 27, 2011

A Little Paint & A Little Distressing = New Vignette

If you are new to the paint series this is day 27 of 31 days of the Power of Paint. If you'd like to see the entire series click  HERE.

A Little Paint & A Little Distressing = New Vignette

I have had this red dresser for years. It's looking a little worse for wear so I thought I'd distress it and make all those paint chips and dings purposeful. Notice my little guy Sawyer? He's my baby, he follows me around trying to get into my photos.

Here's what it looks like after I took a sheet of 100 grit sand paper to the edges.

After distressing it, I applied 2 layers of wax to protect it.

Once the wax dried, I polished it and I stood there thinking: "Well, this is kind of lonely". So I decided to finally make a sign from the vinyl letters I purchased this summer at the Funky Junk Sister's Vintage Show in Coeur d'Alene. It's one of those family rules type of signs. Since this is in the hallway between my kitchen and dining room, I thought it was a good place to hang some rules and kitchen utensils.

For the sign I used my acrylic black craft paint, a roller and a piece of 1/4 plywood.

I sanded and painted the plywood.

Then transferred the lettering to the board. This was difficult, I had trouble getting the lettering to release from the top sheet. I used a credit card and rubbed them into place one line at a time.

I then drilled holes on either side of the top of the board and threaded a piece of hemp cord through it to use as a picture hanger.

I added an old board with rusty coat hooks that I've had for a few years and I hung several vintage kitchen utensils from it. I have a thing for wood handled kitchen utensils, I have them hanging all over my kitchen. 

You can see my hemp cord hanger. I placed 2 of my vintage fans on top of the dresser as well as some rusty stars.

I am loving my new vignette.


Linking Up With:


Monday, October 10, 2011

For the love of Chalk Board Paint

Welcome Back to Day 10 of my 31 Days of Paint series. See the entire series HERE.


 For the Love of Chalk Board Paint
We love Chalk Board Paint! We painted Chalk Board Paint on the back of all of my kids bedroom doors. This is in my middle daughter Sabrina's room. Her friends usually autograph it when they come over.

This is the wall in our hallway upstairs in the "kid zone". Sophie and her cousin Hannah have spent hours playing here on this chalk board painted below the chair rail. My teens can some times be found with their friends adding graffiti to it too.


This little rolling pin chalk board is one of my favorites and hangs on my kitchen wall with several vintage kitchen utensils. I borrowed the quote from The Farm Chick's Cookbook.


This bottle of Anita's Chalk Board Paint is about 12 years old. It is hard to find anymore. I did a google search for it and found that Hobby Lobby carries it. It works great and comes in a quite a few colors. Beats the ordinary black paint that we are seeing all over the blog-o-sphere lately. I used it to make the following chalk board. The bottle is still half full and in good shape. This stuff lasts forever and does not have a strong odor like most chalk board paint.

The metal man with the sun is a scrapbook embellishment that I found at a "dime store". I used the chalk board paint to paint the frame, that I had previously painted a shade of green. I thinned the red paint with water so it let the green show through. I also did a little distressing to it.


This was the first chalk board I ever made (yes, 12 years ago). We have used it to count down the days until birthdays and Christmas. Every December it reads: "Star Light, Star Bright 25 Days Til Santa's Night." And we count down the days accordingly. Something my oldest daughter, now 18, came up with when she was 6.  A chalk board tradition, if you will.


I am making several of these chalk boards (above) for my shop and for Christmas gifts for my friends. Chalk boards are so versatile and fun. I love being able to change them on a whim.

Tomorrow's Post: I'm not sure... hmmm... I'll get back to you! :)


Linking up with:
Tip Junkie handmade projects

Friday, April 22, 2011

Hobnail Milk Glass & A Little Easter Illusion

Today I found out  that Donna at Funky Junk Interiors was hosting an All About Easter Saturday Night Special. Since I had done little to no decorating, I decided to put together a few Easter vignettes. The table above is in my living room, it's actually an old 3 drawer dresser. I had this old gold leaf frame just hanging on the wall. It looked naked, I hung my metal flower sculpture in it and am just loving it!


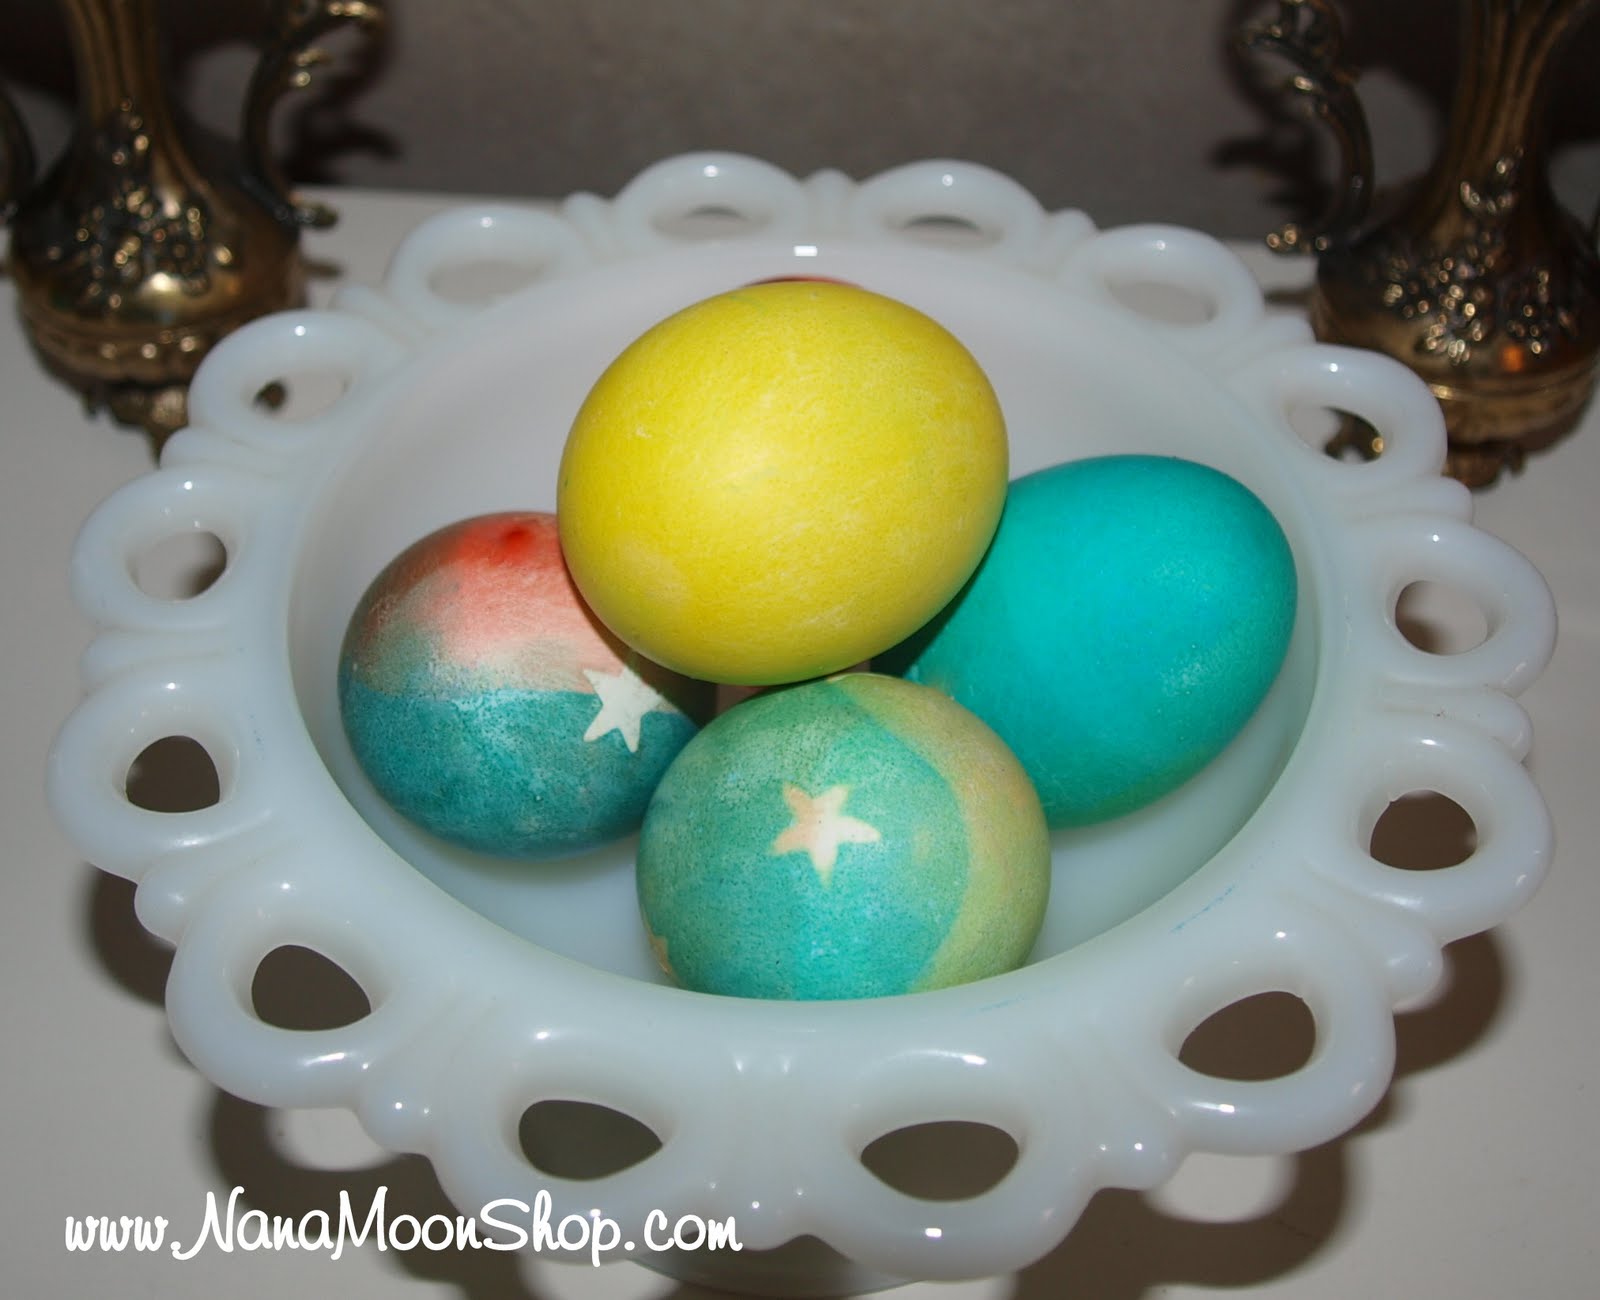
This little milk glass dish has a glass frog that sits inside of it and usually holds pansies by now, but the weather and all... so I replaced it with some of my kids lovely Easter eggs.

Here's Little Soph sneaking into the photo, she wanted one of those carrots. Since there are no spring flowers in sight this year, I thought a lovely vase full of carrots would make the Easter Bunny quite happy.
This by the way, is an illusion.

My carrots do not have tops on them. They were from a bulk produce bag. I thought they were so bland with their brown cut-off tops, so I wedged a pot of lavender into the middle of the carrots. Smells good too! Sneaky, huh?

I recently purchased this hobnail lamp at a thrift shop (it was an awful shade of brown when I got it.... YUCK!) The lamp came with the ugliest lamp shade known-to-woman, so I promptly ripped it off and started to make my own wire one. It's my naked lamp shade for now. I am not satisfied with it yet. I will let you know what it turns in to soon.

The book case in my office also got a few Easter touches. More hobnail. I LOVE hobnail! Oh, and this McCoy planter on the bottom shelf and books... way toooo many books.

My coffee filter roses go well with my hobnail vase, a decoration left over from my wedding. This little bunny and unicorn figurine has been with me since high school. I bought it at a yard sale way back then.

Borrowed my husband's basil plant to add some life to this hobnail dish. Those are all his books anyway. Mine are on the shelf above. Added more of my kiddos eggs and a few little birds figurines. Little touches of Easter here and there is all I have had time for. It has been a little stressful around our house this week.

You see, my husband works at the Lucky Friday Mine in Idaho, where there has been a man trapped since April 15 due to a cave-in. {To read more about this click HERE.} I am hoping that you will say a little prayer for Larry Marek and his family, that he is found and safe. There is no light, food or water were he is. Also if you could pray for the Miners and the safety crew who are attempting to get to him safely and swiftly. It is such a dangerous job. I worry every time Joe heads out the door to work. The sacrifices he makes for us are unmeasurable. We could use an Easter miracle right now. Thank you!

Hope you have a wonderful Easter, my friends.
 

Monday, April 4, 2011

Bed Springs = Spring on the porch

When I think of spring, I think of birds and yellow flowers. I started by removing all traces of my winter  porch. Since Idaho spring weather includes frost, snow, a bit of sunshine and a lot of rain, I have yet to purchase any real flowers.
I found these little birds at the dollar store. They add just a touch of color and whimsy. I have had these bed springs laying in my garden all winter, they've become the perfect shade of rust. {In my mind, Springs = Spring... pun intended.}  I love solar lights, especially rust colored ones!


I wrapped my little bundle of flowers in floral tape and wired them into the basket I was afraid the wind may blow them away. I used the same "ribbon" that I used on my sled in winter.


I added a few of the yellow roses here in my flower pot. This winter if was full of fake
poinsettia and in fall it was full of orange mums. See more porch decor HERE.

I can't wait to fill my pots with flowers. Until then, I am content with my rusty version of spring.

I can't believe it's April all ready. Happy Spring, my friends!


Linking Up With:
Tip Junkie handmade projects The DIY Show Off
Today's Creative Blog

Sunday, March 6, 2011

70s Mirror Gets Revamped


I firmly believe that just about ANYTHING can look better with a coat of paint.


I found this 70's (possibly 80's) mirror at a local thrift store, that I frequent {serious understatement}. It is plastic made-to-look like wood and very heavy. The parts on the back lead me to think it belonged on top of a dresser.


It looks even better here with 1 coat of primer.


Here it is after I spray painted it with a coat of Krylon "Blue Ocean Breeze" paint. The plastic specific kind is amazing!  It works great in my foyer, don't you think?
{Read about that bench HERE.}


This is how I used it at Christmas. I loved this vignette so much, that I left it up well past the holidays.
{How to make those coffee filter flowers in the tree click HERE.}


My sister, Heather, bought this one at Farm Chicks last summer and paid four times as much. It was my inspiration. I was not brave enough to distress mine, but am planning to on my next one. {Yep, there's always a next one, when you love how well something worked, you've just gotta make a next one, am I right?}


Linking Up With:
BecolorfulThe DIY Show Off
Today's Creative BlogDomestically Speaking